FlowStudio Overview
Once we have launched a FlowStudio Instance , we can finally take a look at the Foretale FlowStudio . The FlowStudio is where all the magic happens and where we can create and deploy all kinds of finance flows!
FlowStudio: A blank canvas
The FlowStudio starts as a blank canvas, ready for the user to release their creativity! A brief introduction to the FlowStudio is provided when entering a new instance.
The node panel
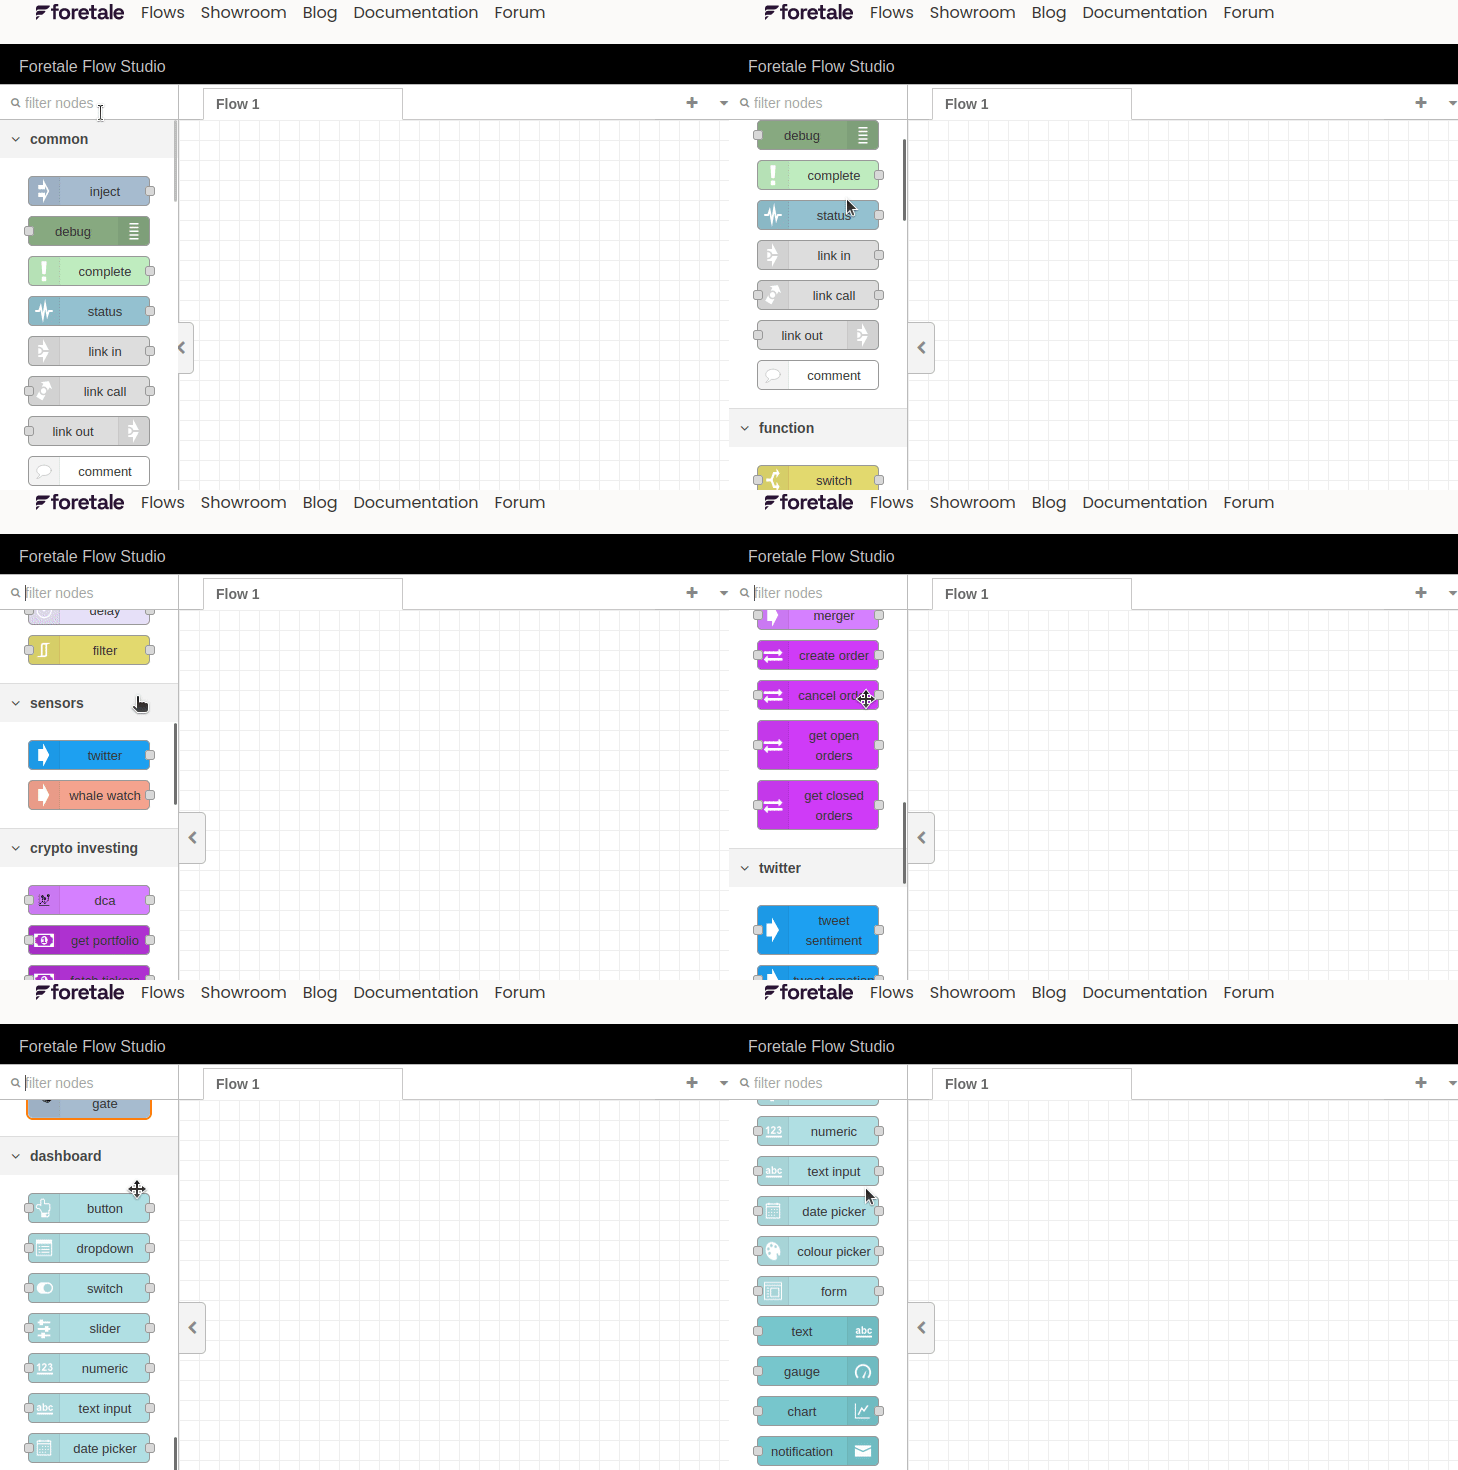
To the left of the FlowStudio is the node panel. Foretale nodes are the functional building blocks of finance flows . Users can either browse nodes by scrolling or search directly for a node by name. A full overview and explanation of each node is provided in the nodes section


The workspace
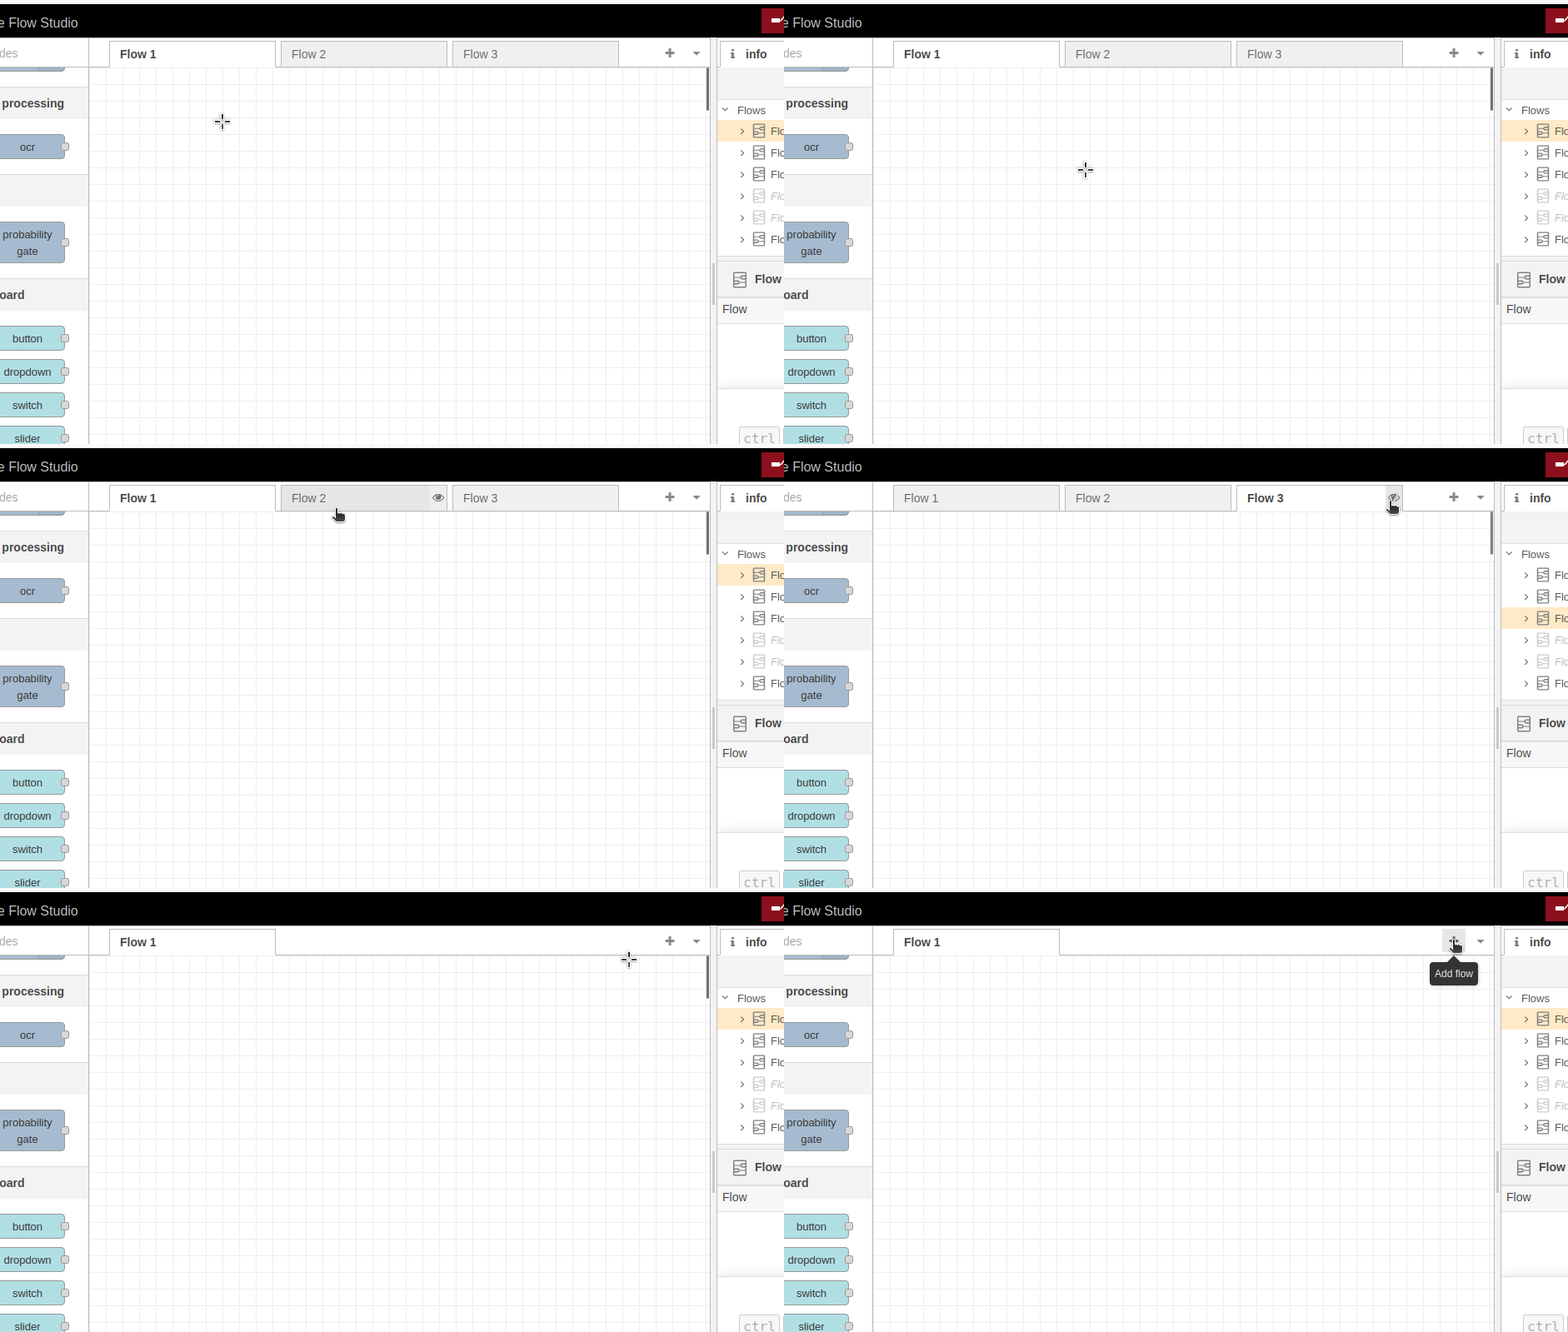
Nodes are dragged and dropped onto the FlowStudio Workspace. Here they are joined together to create flows. Change Flow tabs by clicking on each one, create new flow tabs by clicking on the plus sign on the top right.


info
It is best practice that each new Flow you create is created on a separate Flow tab. This helps users keep a better overview of their flows. Plus, each Flow tab can be deployed individually without disrupting flows in other tabs.
Help and debug window
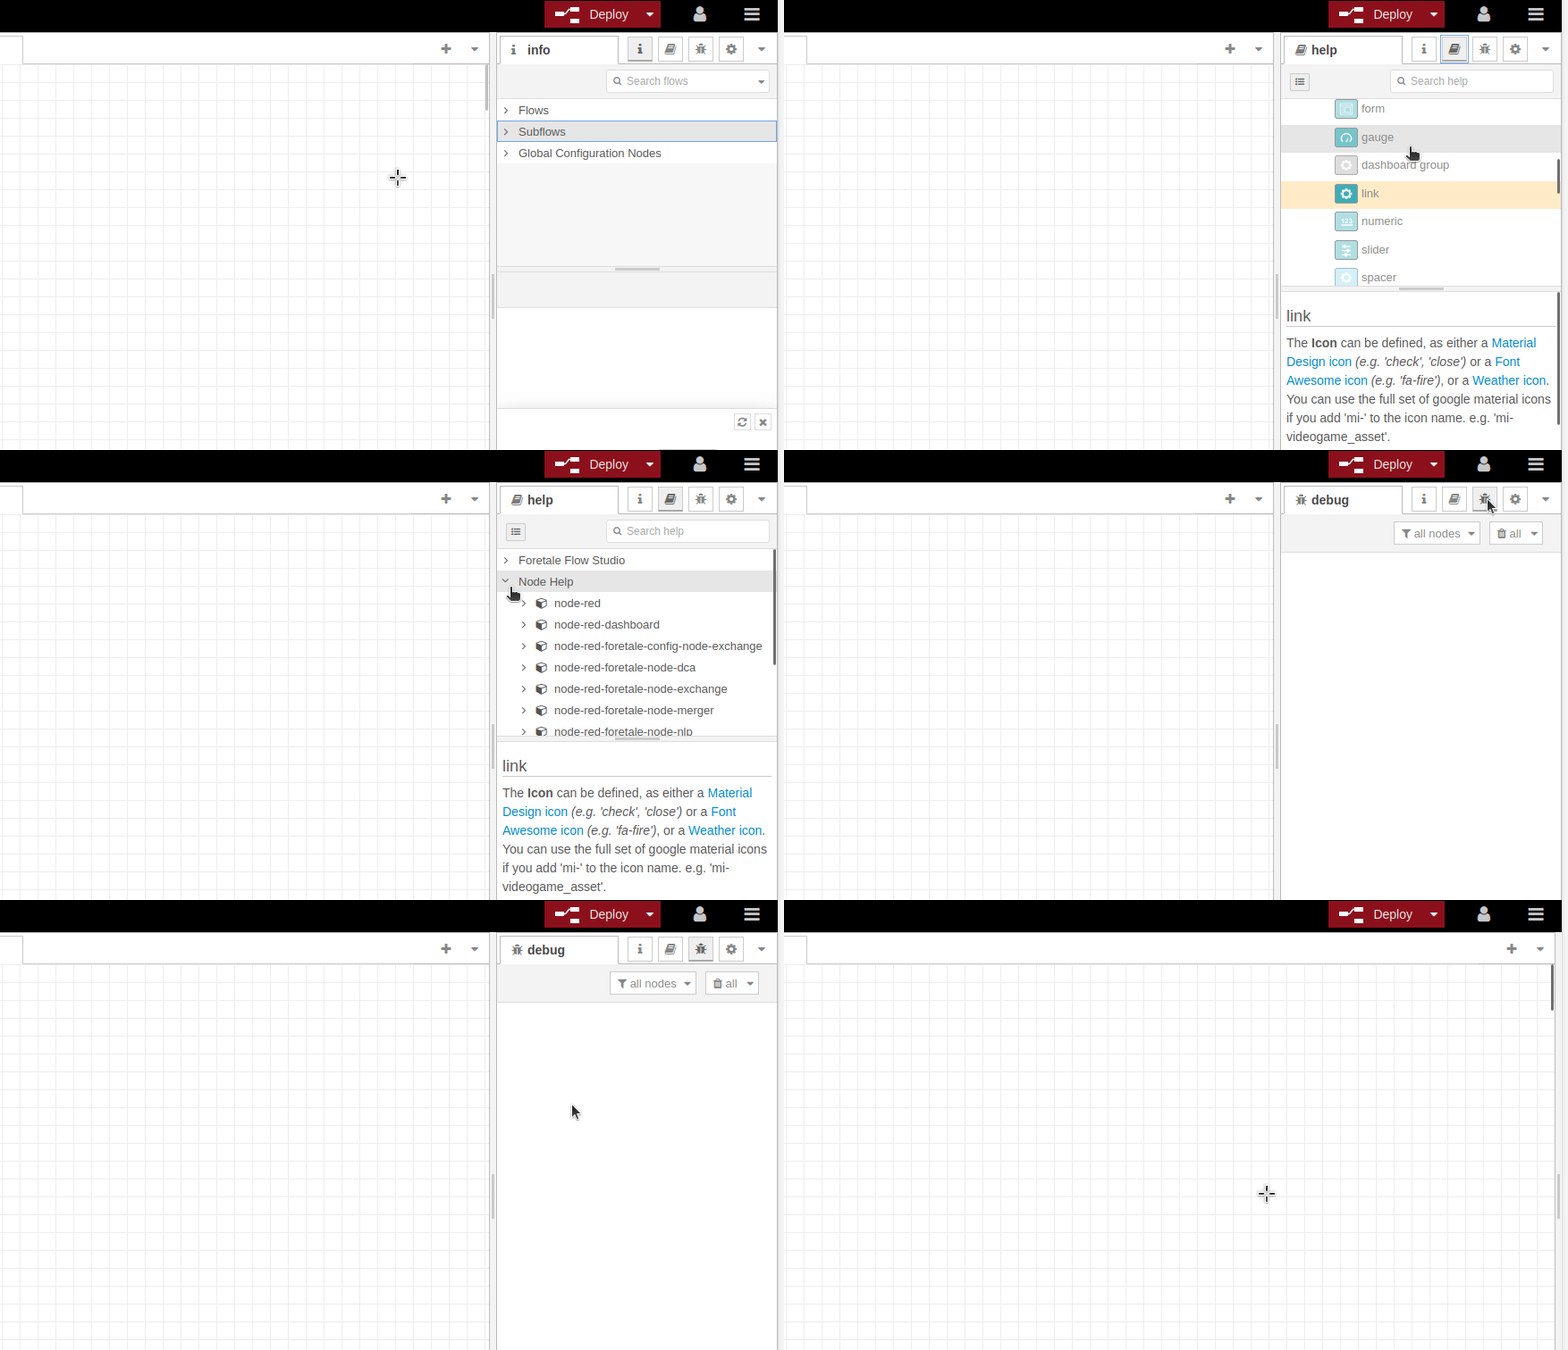
To the right of the FlowStudio users can toggle the help and debug window into view. In this window, users can view documentation about each node as well as print out information to the debugging window.


Deploying
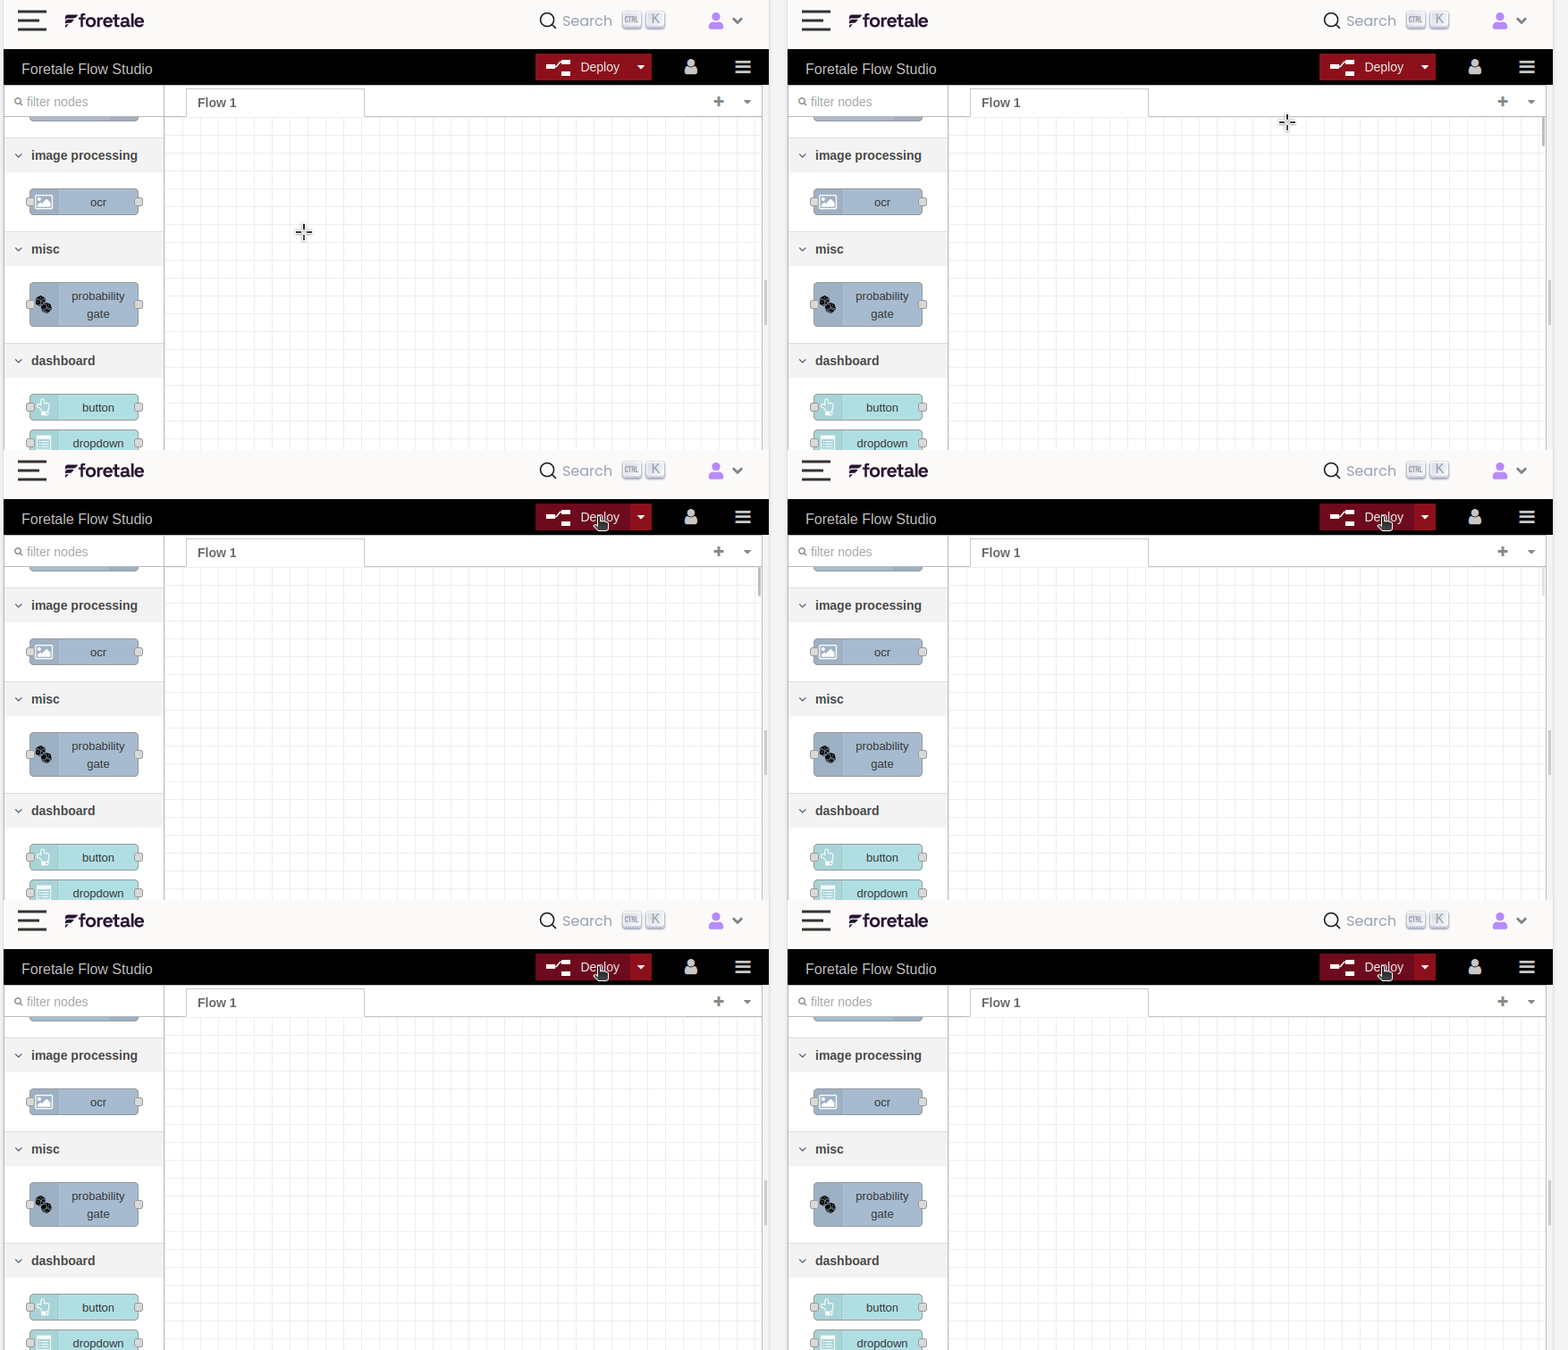
Finally in the top right of the FlowStudio you will find the all important ‘Deploy’ button. Select ‘Deploy’ once you have created your Flows and are ready for your Flows to be hosted around the clock on Foretale’s Cloud


info
By clicking the arrow down on the right, one can choose between: Full: Deploys everything in the workspace (default). Modified Flows: Only deploys flows that contain changed nodes. Modified Nodes: Only deploys nodes that have changed.